


In addition to image-making, we do not need to use a 3D program, in this tutorial, I'll make a space ship, this does not have to always use a 3D element, in this case I use Adobe Photoshop CS2 .. yach .. pretty cool
ok we start ..
the first step
create a new document, with a black background color, then we use the Ellipse Tool (U) contained in the tool box. Create a circle with a white piece, then change his style by right-clicking on the layer thumbnail>> blending options, such as the following figure.


Duplicate the results of the drawing, as much as 4x, on the second duplicate image, change its color with the color black.


Then transofrm image with ctrl + t and how to pull up (as shown in picture 1), then right-click inside the layer>> wrap, pull the bottom of the second point and slide to the bottom right and bottom left (such as picture 2) .

Then press Enter. Then select the Paint Bucket tool (G) and change the foreground color to black color (# = 000 000), then click inside the layer.Now we will adjust his style layer. Right-click>> blending options and adjust as following instructions:

The result is like the image below :

Wow ... .. quite a long story.
Create a new layer again by clicking the icon (Creat a New Layer) on the bottom right corner palete layer, make the field selection using the Elliptical Marquee Tool circle (M), see the following image:

Next use the Gradient Tool (G), change its color gradient by clicking on the dialog menu listed below the menu bar
And adjust the color (#: 57ddff)

Continue by pressing the OK button. Now we are ready to make light of his reflections, click outside the selection and drag it to the top (see picture .1), and the result will look like the picture .2.

Create a new layer again by clicking the icon (Creat a New Layer) on the bottom right corner palete layer, make the field selection using the Elliptical Marquee Tool circle (M), see the following image:

Next use the Gradient Tool (G), and do it in a way as above. The result:

Picture, while it will be like the following :
third stepCreate a new layer within the canvas, still the same way as above. Select the Elliptical Marquee Tool (M), make a small circular field of view selection (gambar.1), then use the Gradient Tool (G), change its color gradient by clicking on the dialog menu listed below the menu bar will display a dialog box like the picture below:And adjust the color (#: 73fffd)

If we've set the color of its gradient, then click in the middle of the circle and drag the selection upward pull.

Continue with these layers as much as 4x menduplikat, and the results we can see in the picture below:

Step fourNow we will create a spotlight which will look like alien creatures are rising to the plane ..Make a new layer within the canvas that's how many times have we discussed above. Choose the Rectangular Marquee Tool (M) make a plot of the selection box then right click>> Feather dialog box will appear, set the Feather Radius to 20 px:

Use the Gradient Tool (G) with the Multiply mode, then edit its color gradient as shown below:

click outside the selection and drag it to the top like the picture first and second images will be

Remove the selection by pressing Ctrl + D on your keyboard.Then, to shrink the top menu select Edit>> Transform>> Perspective, and slide into the top corner followed by pressing Enter on the keyboard.

Select the Elliptical Marquee Tool (M) in the Tool Box, make a selection circle under a field of radiance we have made earlier, to give a smooth result of selection, right click>> 20 px feather fill in the dialog box. Subsequently we used the Paint Bucket Tool (G) and setting its foreground color with the following code #: FFFFFF. And click a few times in the middle had to flatten the color selection. Remove the selection by pressing Ctrl + D on your keyboard.

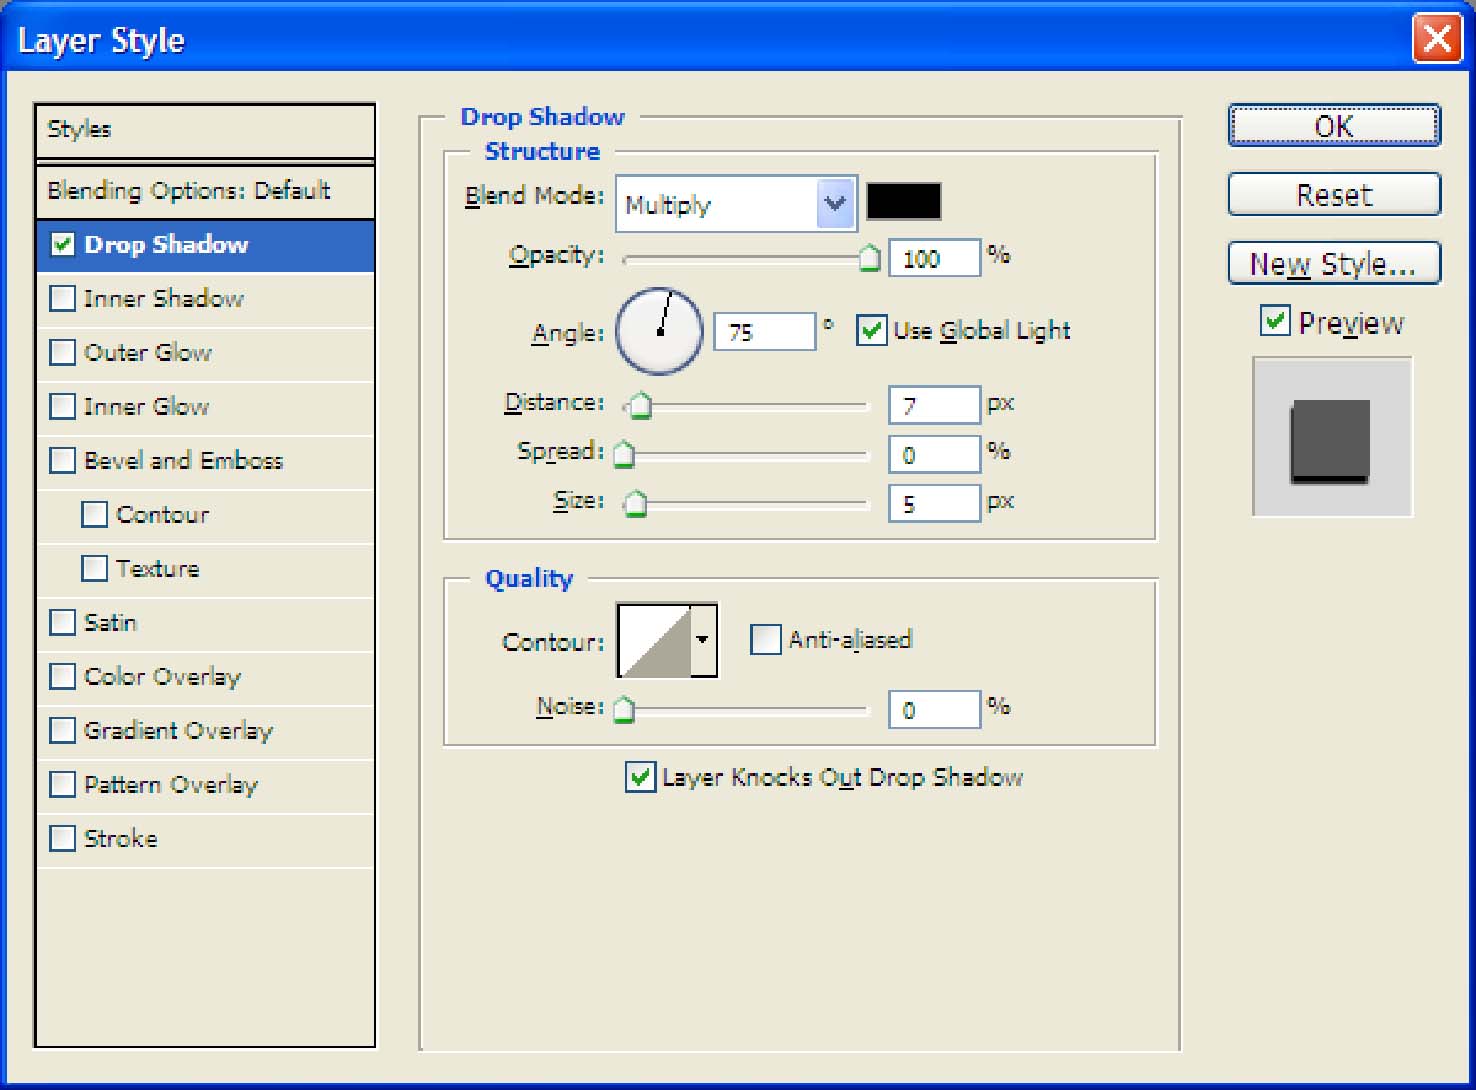
Add the object image, and place in the sun. Then duplicate the image to create the shadows and set its layer style like the following picture:

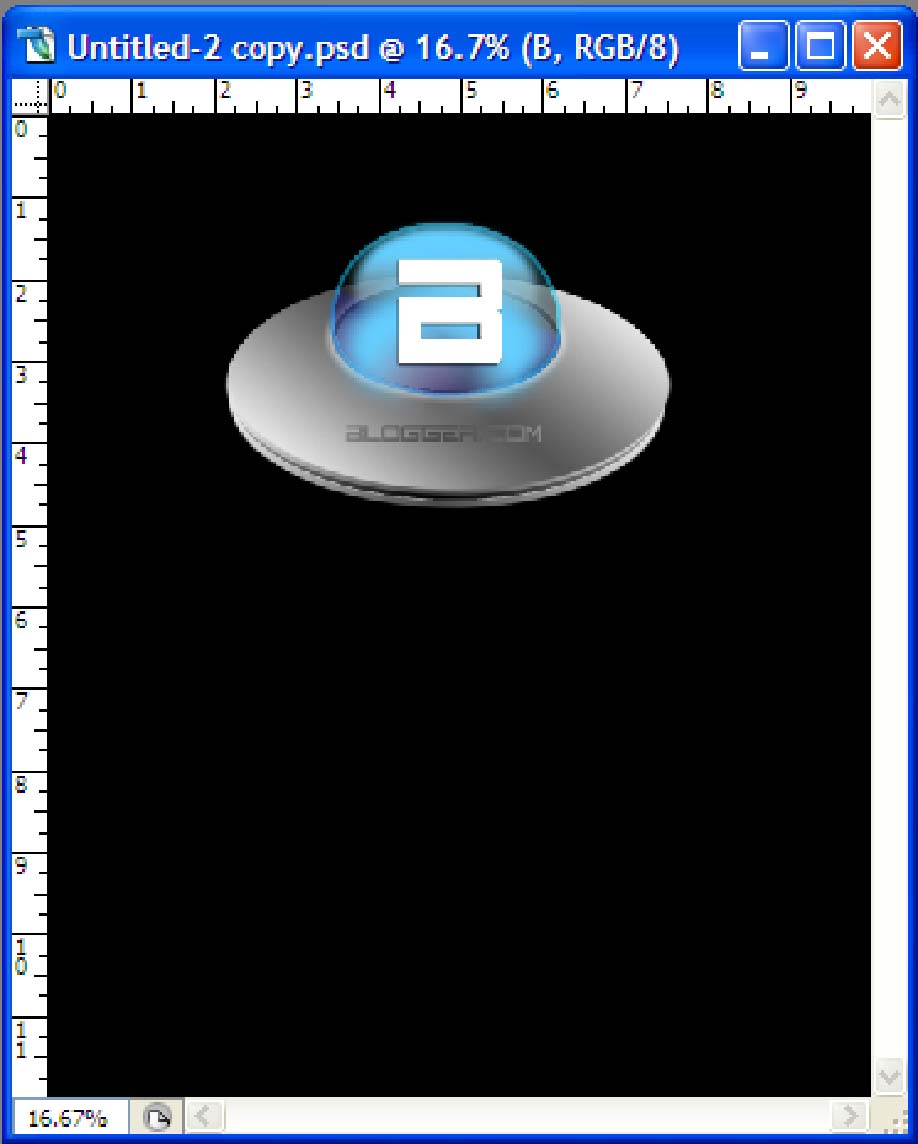
and the result is like Image 1, you can also add some text like image 2.

So I dedicate this tutorial for you, apply your inspiration for positive things.
Good luck!!

0 comments:
Post a Comment